
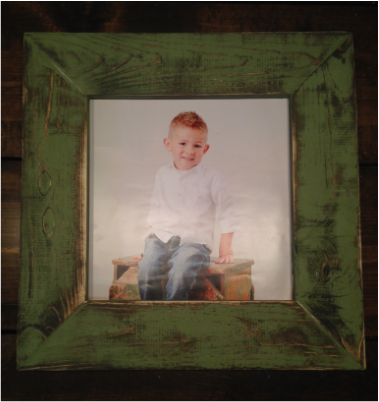
I could seriously eat this kid he's so cute!!
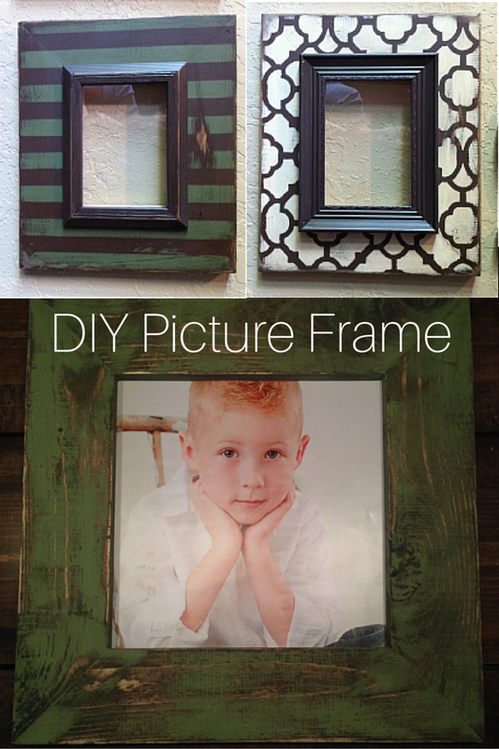
My friend Micha took these pictures of the boys and I love how they turned out! My house is pretty rustic, so I wanted to make a basic frame that would flow with my theme.
When we lived in Ohio, we had some pretty amazing friends that could build anything. Bridgette and Dustin taught me how to make these frames.
I'm linking the step-by-step for the Pottery Barn Chalkboard Knockoff so you can reference that. I'll also give details on this particular size that I made for the boys pictures. You can use various woods, paint, and stains so get creative!
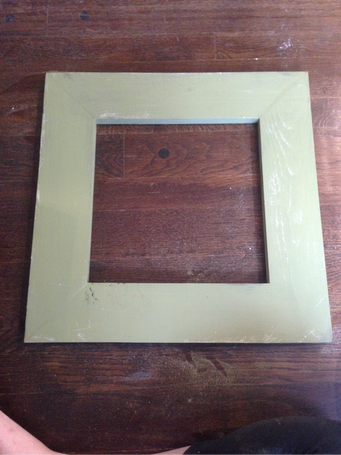
On this particular frame, I stained the sanded frame with Minwax Dark Walnut stain. Once dry, I painted it with one coat of my green chalk paint. The chalk paint dries super quick which is great for my impatience!
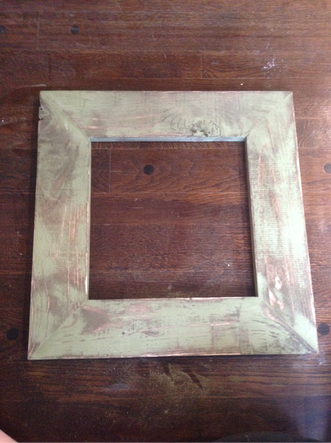
Once dry, take your electric sander and go to town! This will give you an old wood look! I love it!!
You can seal it with a spray poly acrylic or wax.
For the picture, I used spray adhesive and stuck the picture to a poster board.
I cut the picture out leaving a 1 inch perimeter around the picture. Then I simply stapled it to the frame! That easy!
Step-by-step
Stain the sanded frame with Minwax Dark Walnut stain. Once dry, paint it with one coat of chalk paint. The chalk paint dries super quick. Seriously, it's amazing how well the chalk paint covers!
Once dry, take your electric sander and go to town!
For the picture, I used spray adhesive and stuck the picture to a poster board.

I cut the picture out leaving a 1 inch perimeter around the picture.
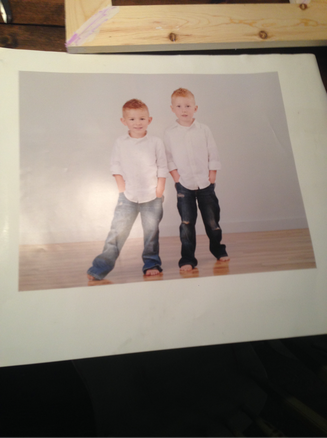 Then I simply stapled it to the frame! That easy!
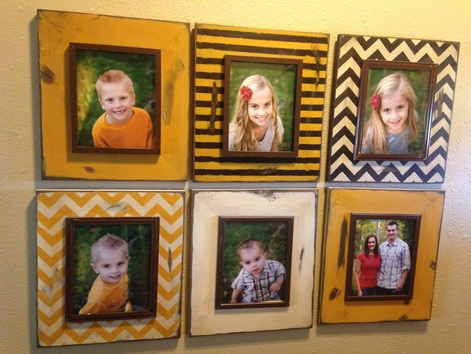
Here are a couple other picture frames that I helped my sister-in-law do! Her family is adorable! If you want a more finished look, you can spray paint or paint a picture frame and use that as your finishing piece and measurements.
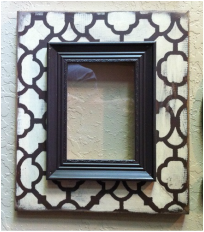
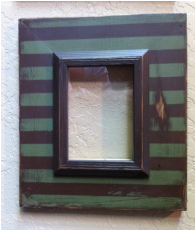
A few other ideas for inspiration!
Leave a Reply