
Easy and Affordable DIY 8 FOOT BLANKET LADDER that will dress up any space in your home!
This last weekend Cassie and I taught a blanket ladder class at Pinners Conference in Utah. We promised a blanket ladder tutorial that our class attendees could call on if they ever decided to make one of their own. You'll be shocked by how Easy and Affordable this DIY 8 FOOT BLANKET LADDER is to make!
**Video tutorial at the bottom of post**There are many variations on how to make a blanket ladder. This way is our favorite. The ladder is sturdy and it comes together pretty quickly! You'll need the following:
(2) 2x3's 8' long
(1) 2x2 cut into (5) 13.5" long pieces (these are your rungs)
Saw to cut your wood (or have Home Depot do that for you!)
Kreg Jig
2 1/2" Kreg Jig screws-- coarse thread
For our blanket ladders we like to use a high quality, builder grade pine. We also like to use the Kreg Jig because it securely fastens the rungs to the 2x3's.
Curious about the Kreg Jig? Check out this Youtube video.
Now that you've learned about the Kreg Jig, lets get to drilling out those pocket holes. Drill out 2 holes on each rung. You will be drilling out 10 pocket holes total.
Now that your lumber is cut and you have your kreg jig holes screwed, sand the edges to rid the wood of slivers. Take note that these blanket ladders are rustic, and therefore will have knots and character to the wood. It is difficult to sand this character off, so embrace the beauty!
Mark your ladder. Begin at the top of one of your 2x3's, and measure down 13". Mark with a pencil, and continue this process all the way down the ladder the rung until you have 5 spots marked for each rung. Repeat this process on the other 2x3.
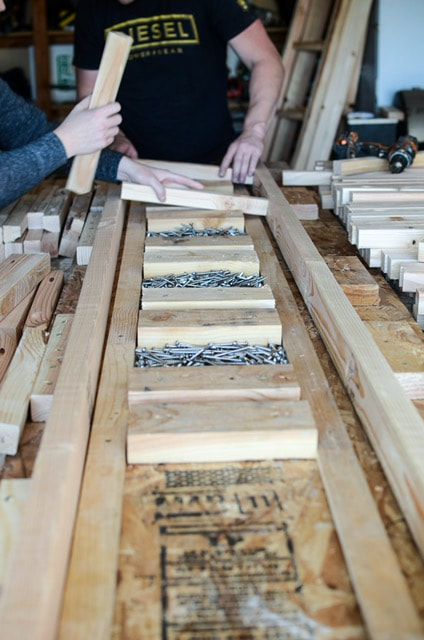
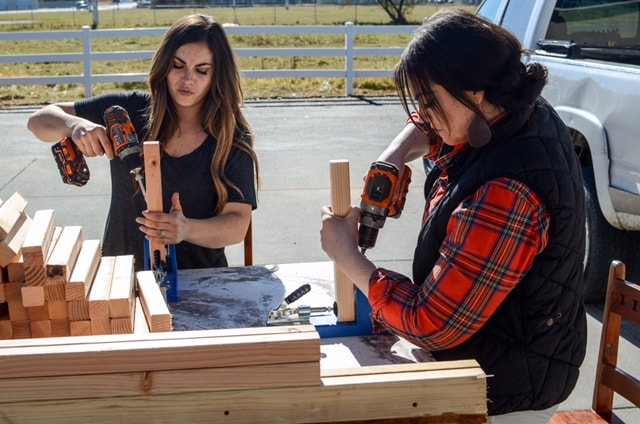
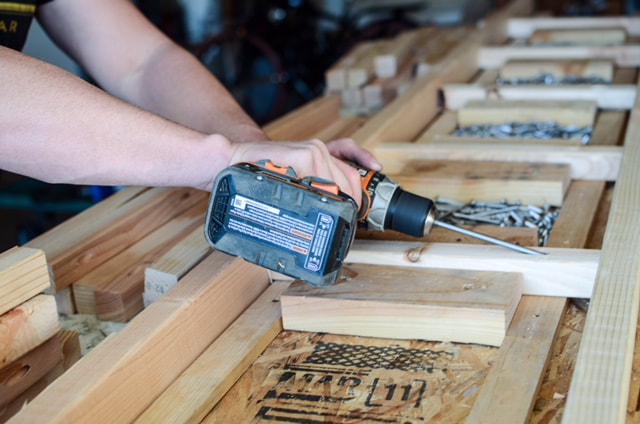
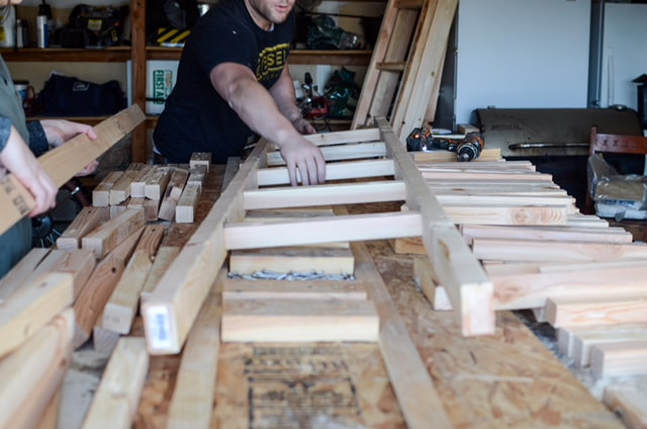
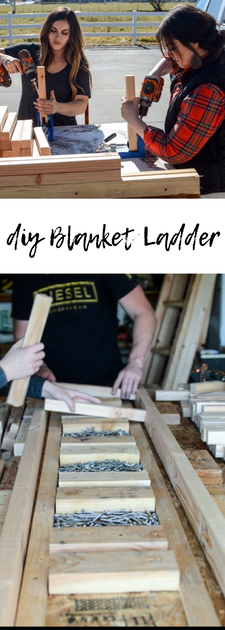
Here is some behind the scene footage of the building we did on our 200 ladders for Pinner's Conference.
Assemble your ladder. Place your ladder pieces on a solid work table or on the ground. Lay the rungs in between the 2x3's and space them out where you put your markings. Have your pocket holes facing up for this step. This will be the backside of your ladder.If you'd like your rungs centered on your 2x3, raise them up with a 1/2 in piece of wood. If you don't care about them being centered, don't worry about this step. Confused about this step? Watch our video below. You will see the thin piece of wood that we lay down under each rung before drilling to raise it up.
Use your drill and kreg jig driver bit to screw a screw into each pocket hole. This will require 10 screws total.
Once each screw has been drilled in, paint or stain your ladder. Once ladder has dried, you are finished!! It is that easy!
This video below is great to watch in conjunction with our written instructions. It helps to put this whole process in order in your head.
As always, please reach out to us with any questions you might have!!! Happy crafting!
Caring is sharing! Pin it or use our share buttons to share.
Leave a Reply