

This adorable sign is super easy to make! You can adjust your measurements to make it any size. This tutorial is for a 12 inch x 12 inch frame.
Supplies Needed:
1x3x8 board for the following cuts:
1x3 2 @ 11 in.
1x3 2 @ 16 in.
Kreg Jig
8- 1 1/4" Kreg Jig Screws (coarse thread)
Stain
Rust-Oleum Finishing Spray (matte finish is my go to)
Power Drill
Saw (Mine is a miter saw)
1x3x8 board for the following cuts:
1x3 2 @ 11 in.
1x3 2 @ 16 in.
Kreg Jig
8- 1 1/4" Kreg Jig Screws (coarse thread)
Stain
Rust-Oleum Finishing Spray (matte finish is my go to)
Power Drill
Saw (Mine is a miter saw)
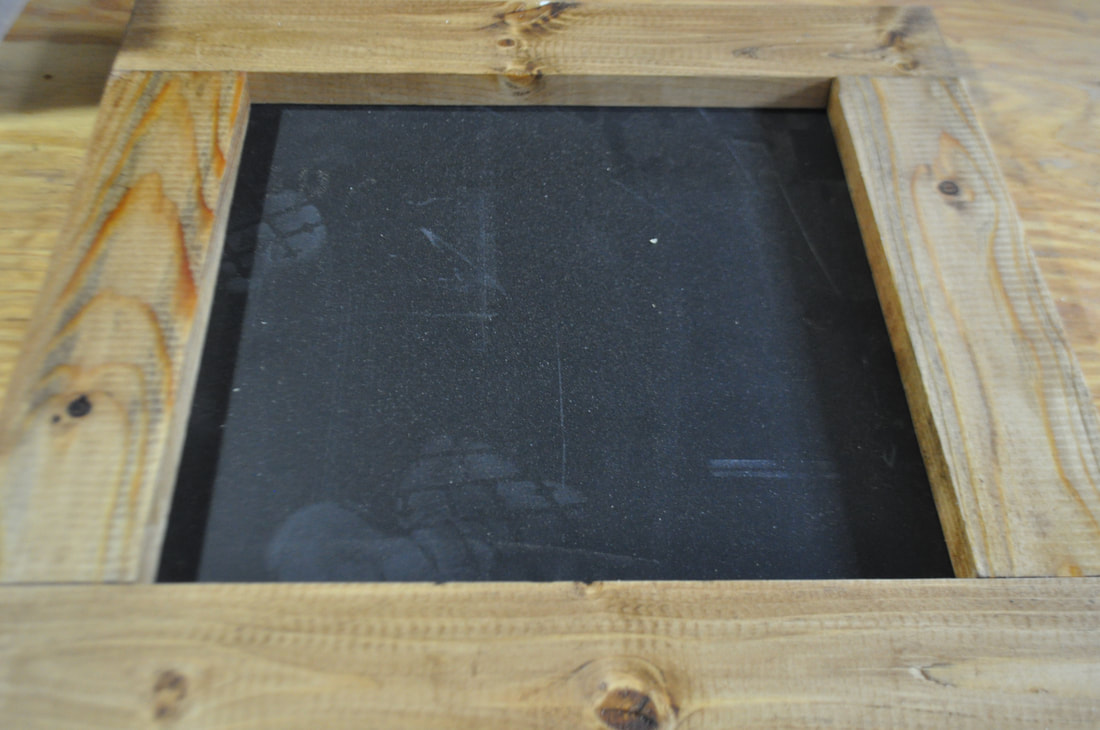
I've used this frame for a ton of projects! For this "first" grade sign I purchased a premade chalkboard from Home Depot. You can find several cut files (using the Silhouette Cameo) and basic instructions HERE.
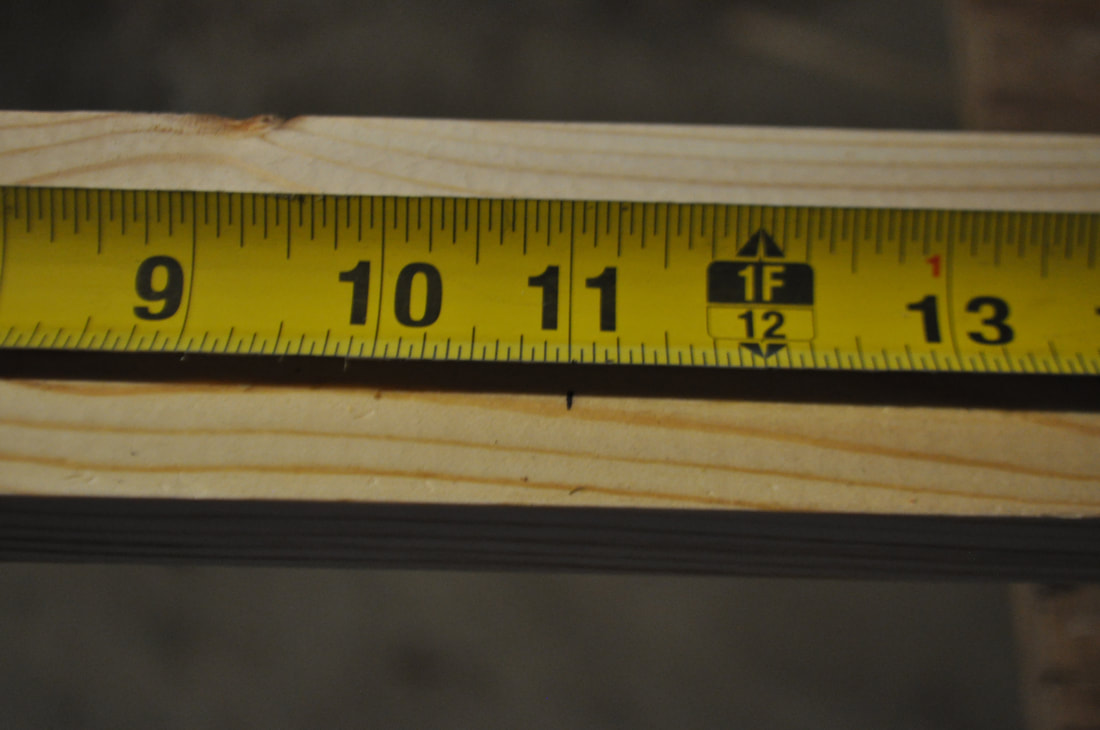
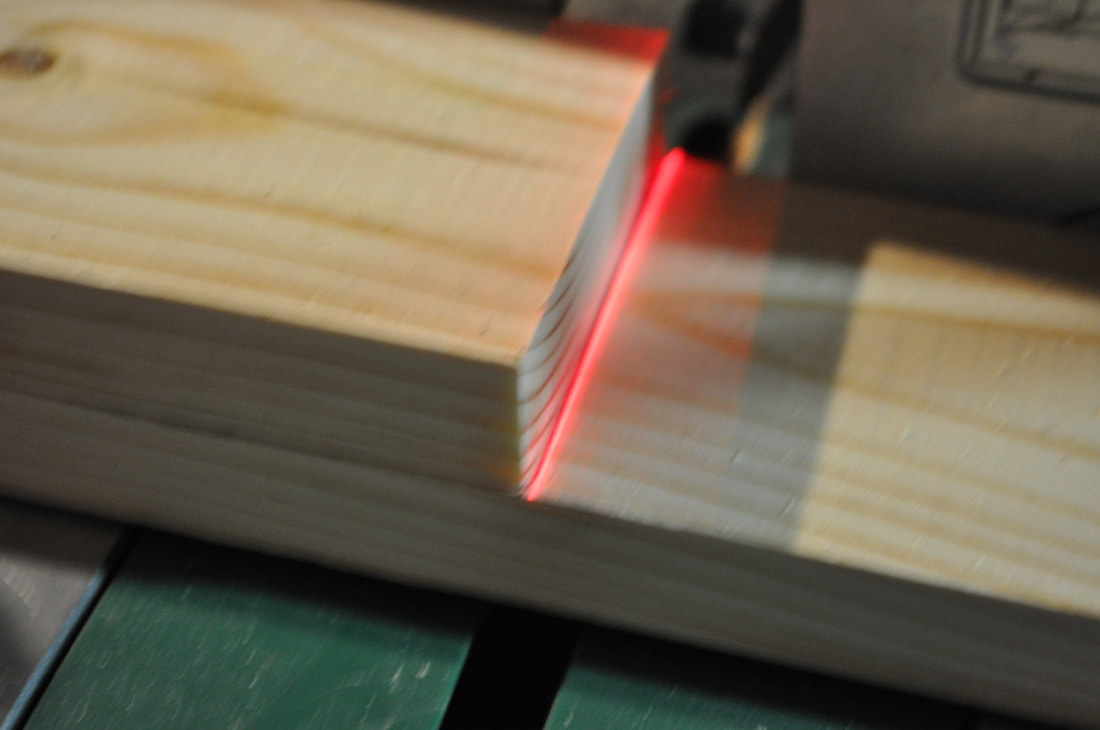
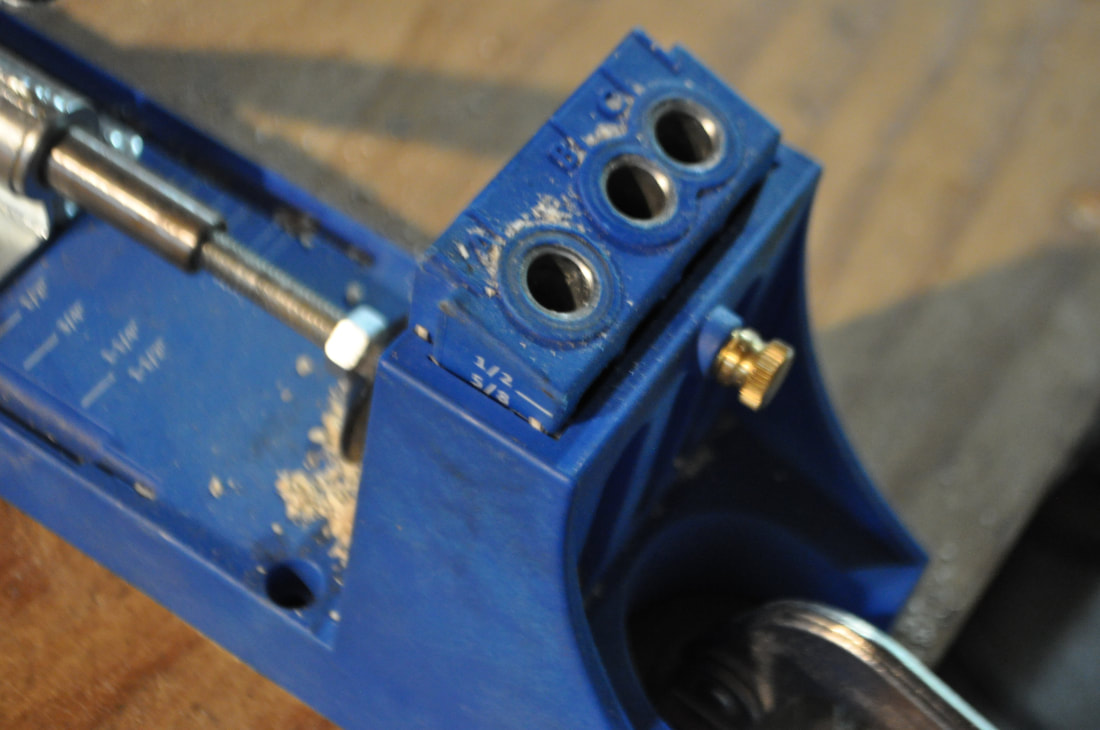
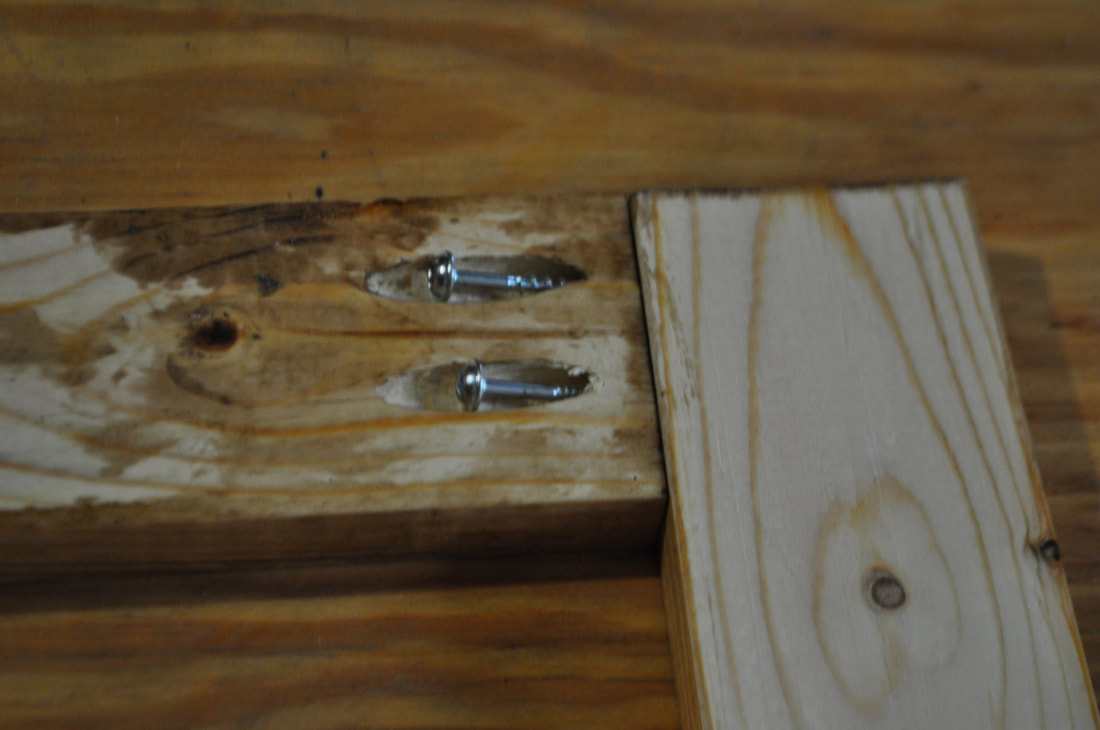
Cut your 1x3 board 2 @ 11 inches and 2 @ 16 inches. Using your Kreg Jig make sure you are set to 3/4" on both the bit and the Kreg Jig. Clamp the 11 inch boards (these pieces will be the side pieces of your frame) so the 11 inch length is running vertical. I centered the board so the 1st and 2nd hole on the Jig were in the center of the board.
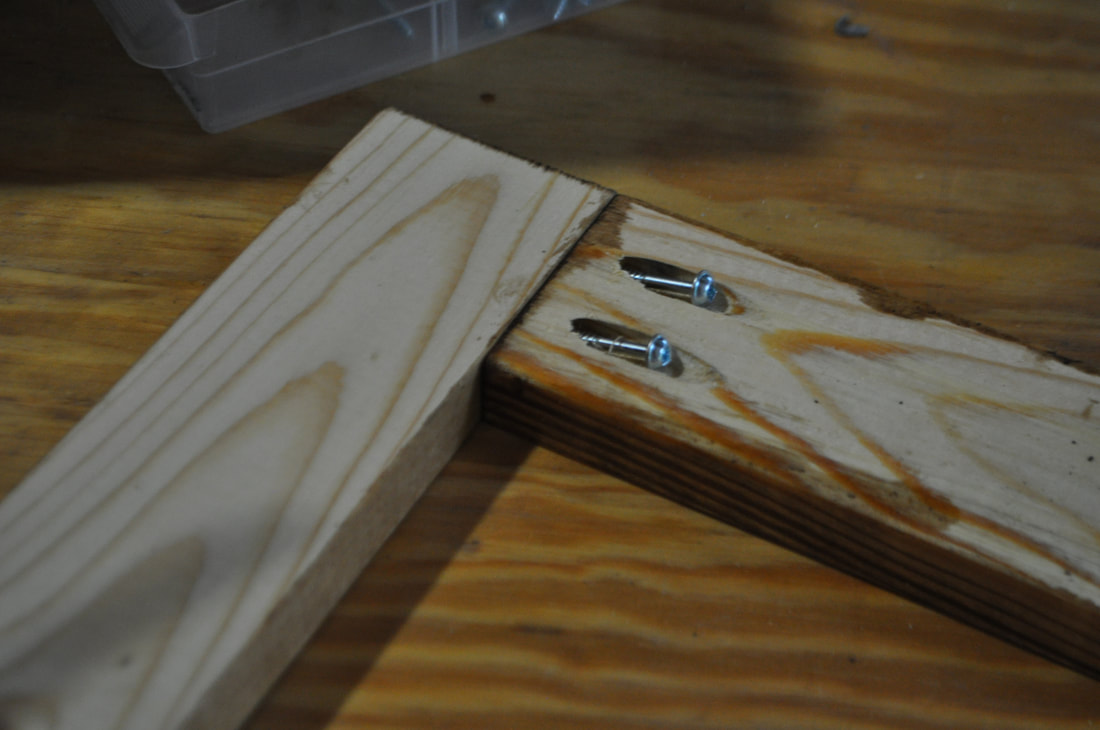
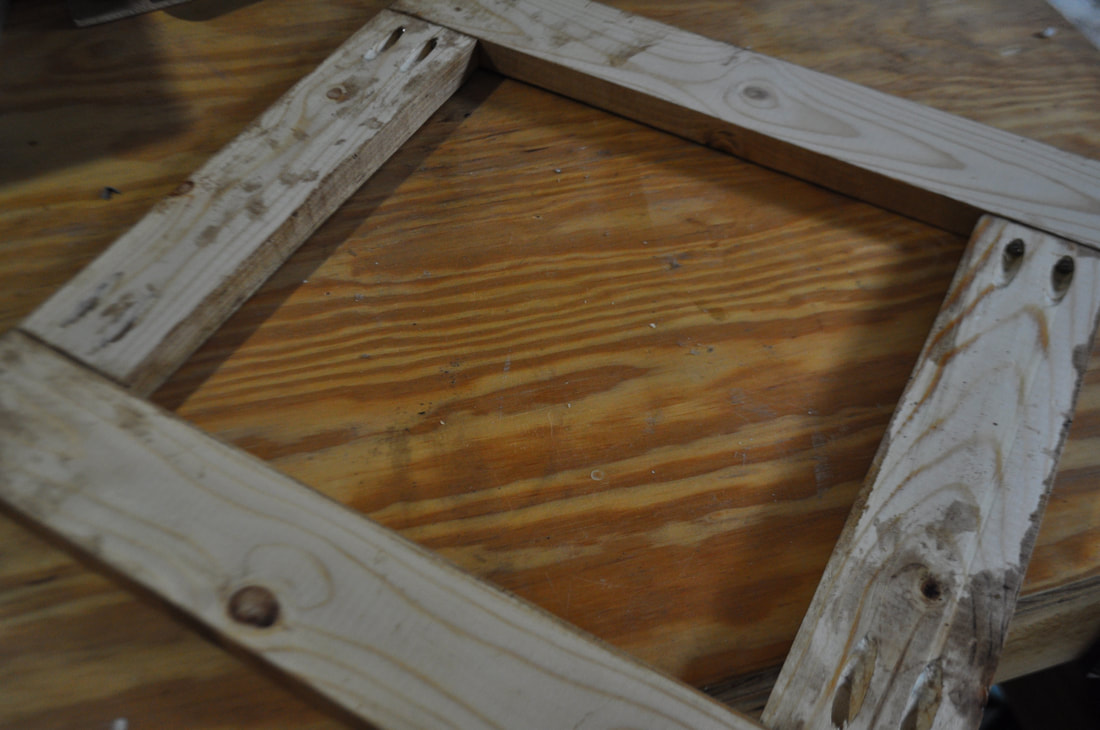
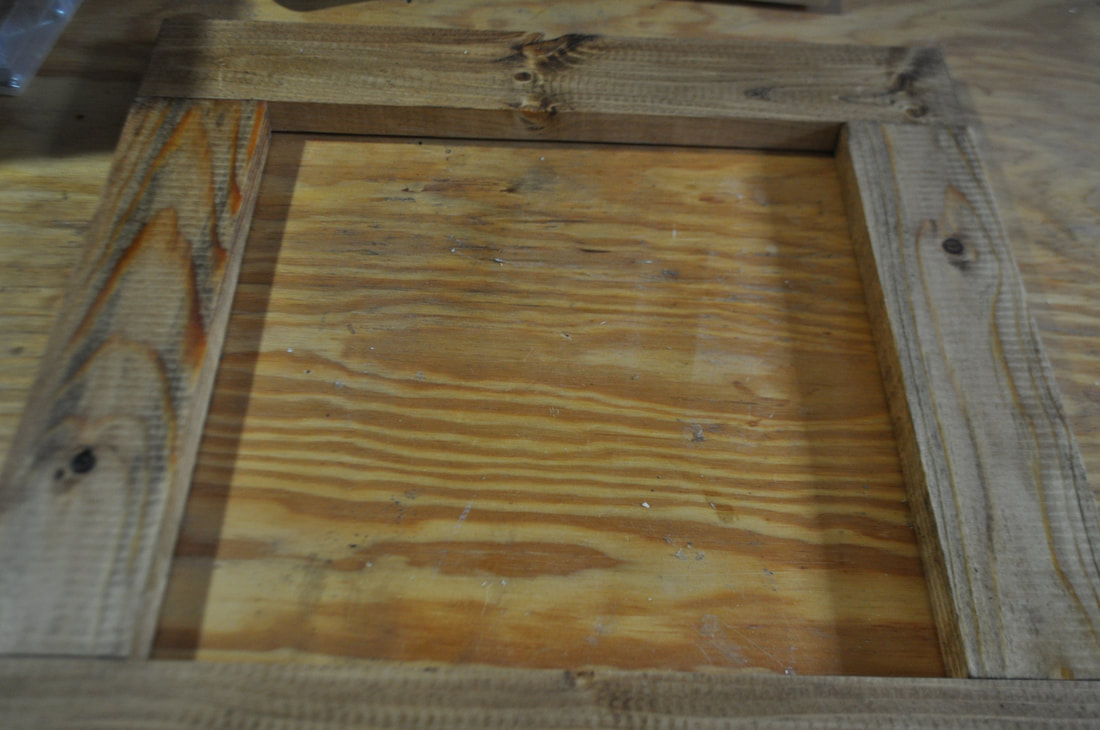
Stain all four pieces. Lay right sides down and assemble your frame! Like I said above, the pieces that have been Kreg Jigged will be the sides of the frame and the 16 inch pieces are the top pieces.

Flip frame over and dust off any particles (wood shavings or dust) then spray with Rust-Oleum finishing spray! Let dry and secure sign to frame by using 5/8" nails with your air nail gun.
We sure love this soon to be 1st grader!! These photos sum up his personality to a tee!


Leave a Reply