
Rex's sister that lives a couple hours away is one of my favorite people, When they come visit, she demands a project, then sits back and watches her husband do it!! So Becky told Nathan and Rex what was happening this day....what was meant to be a fireplace day turned into a rip up the carpet day as well! I basically wish Becky and Nathan would move in with us- it would really put a fire under us to get this house done!
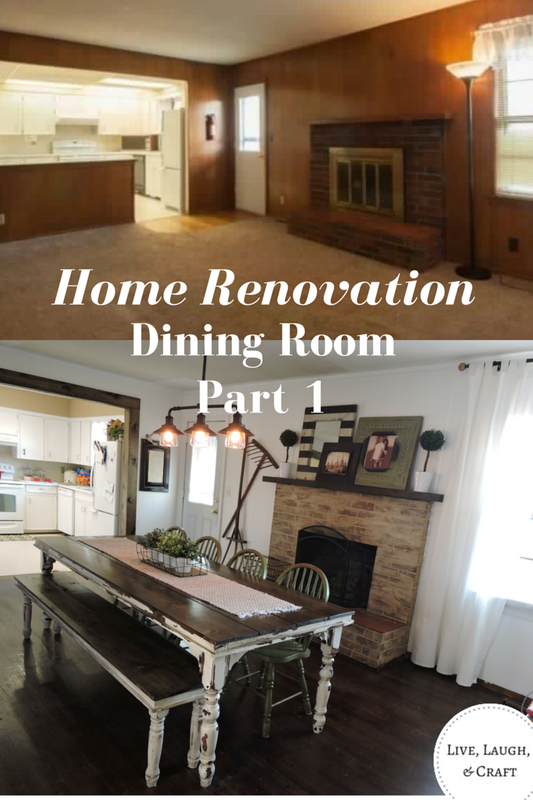
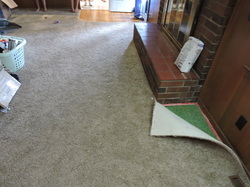
So first thing first....carpet came up, staples came up, razor blades that were put between floor boards to prevent squeaking were pulled up, and all to unearth the most hideous wood floor known to mankind! So as far as we know, the polka dots were used in the late 60's as a decoration. They literally gave me the chills, but whatever, I'm over it. The carpet was new and in good shape so we used it in the basement bedroom...you can see that post here!
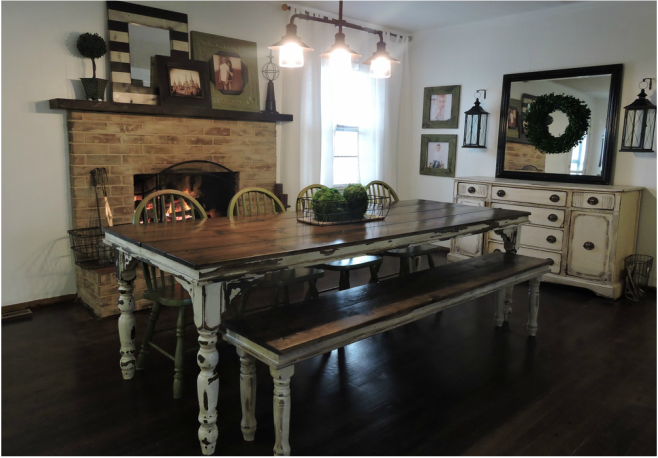
Fireplace revamp here!
|
|
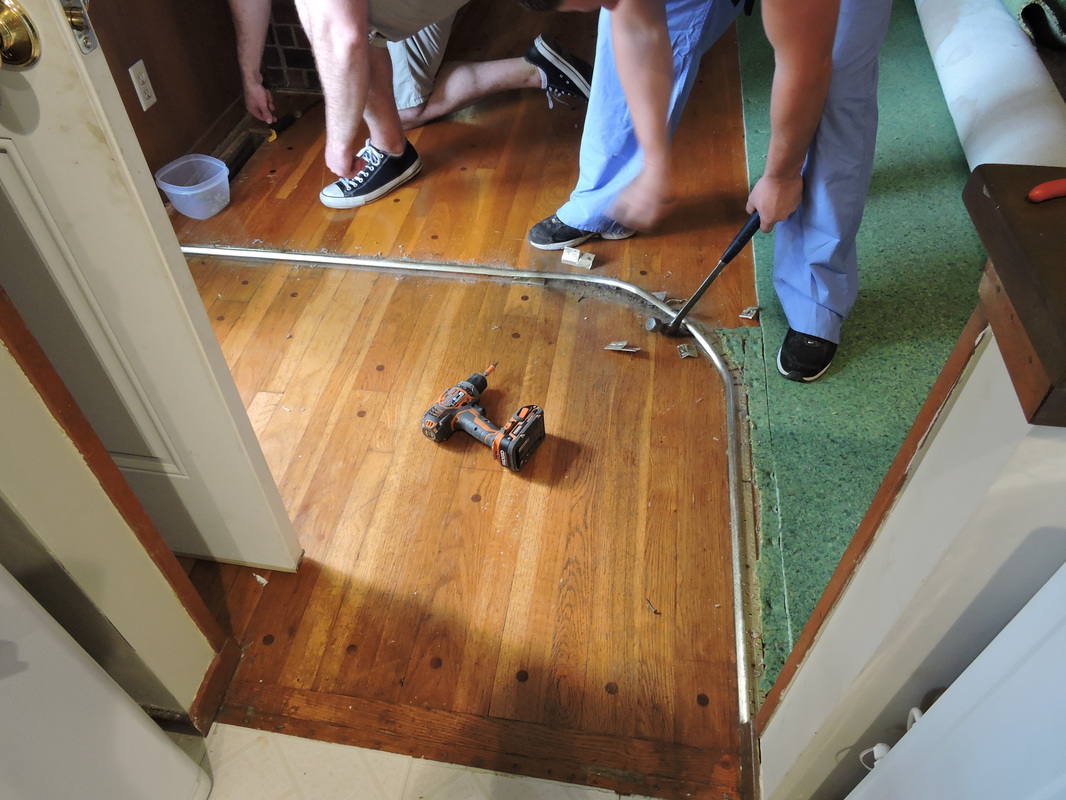
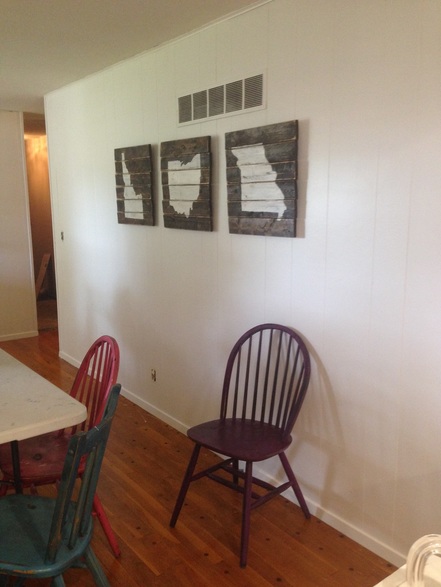
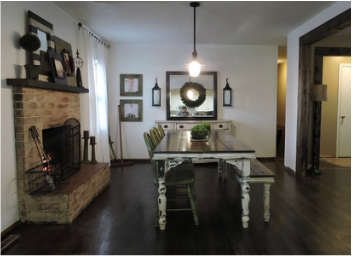
This room has changed a ton- it's amazing what a little paint will do! Rex voted on removing the paneling, but I was set on leaving it. Not that I owe an explanation, but here it is anyway! I really do like the texture rather than just a boring plain wall! The molding around the top was super ugly, and I had a plan to use a 1x2 along the top, and I knew that would greatly improve the paneling look, third, we are on a budget here! I didn't hate it enough to pay someone to fix it or to fix it myself; and last I was going to brighten it up with white paint! So there you have the four reasons I won this battle!
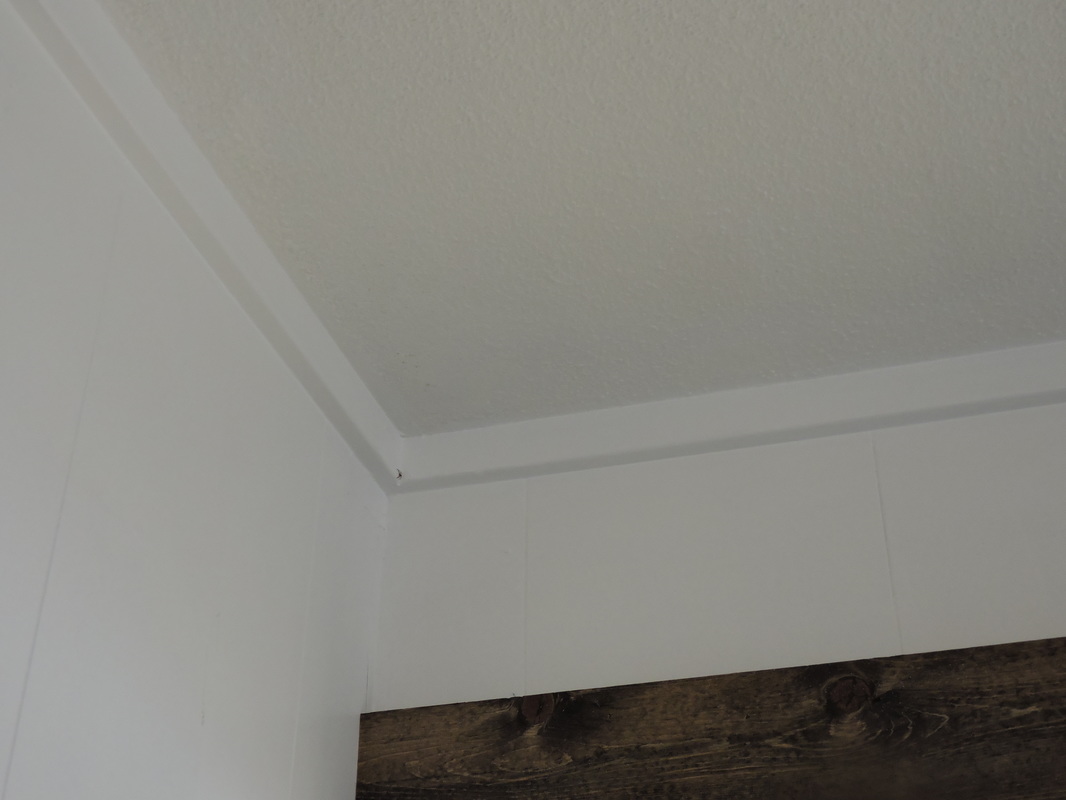
Our friend Chris who was staying with us removed all of the old molding around the ceiling and Rex put up the new 1x2 mdf molding. I caulked around the top and bottom and all the seams and painted it! We used 10 boards that were 8 feet long. They were around $2.50 a board. It was a huge improvement for only $22.50!
|
|
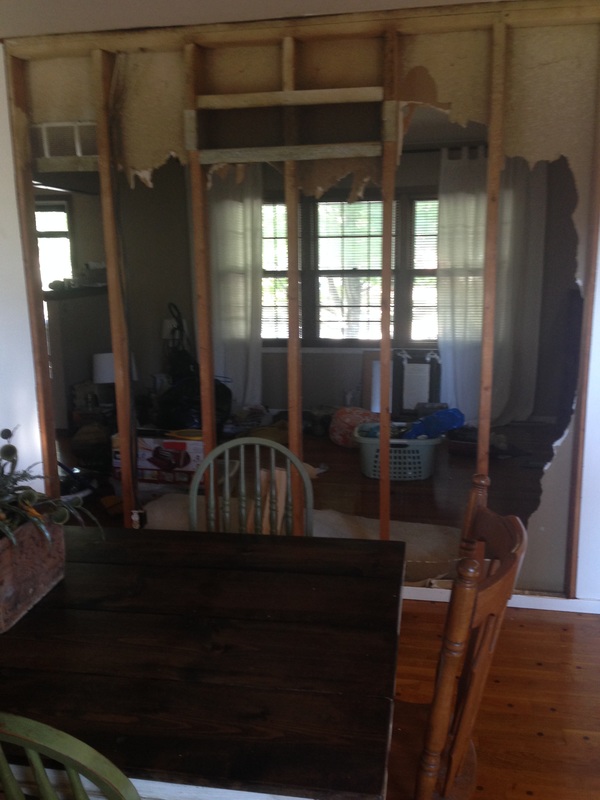
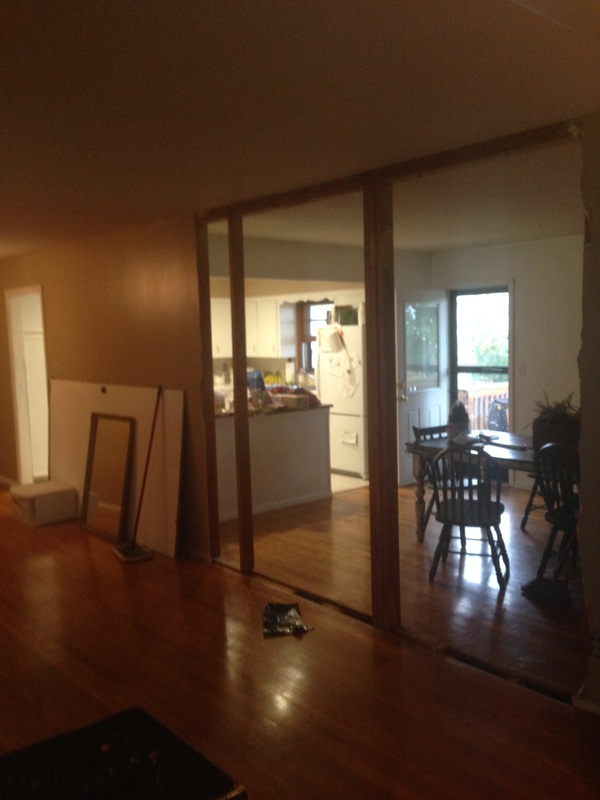
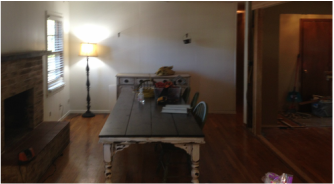
This is such an ugly picture , but I didn't do a super great job documenting this as we went. This is the wall that would ultimately come down. Also, we were totally eating on a folding table and sitting on our patio chairs! It was a glorious day when I finally tackled building our dining table! So here's the wall coming down in a couple different phases. This part of the project super inexpensive, but it literally took FOREVER.
|
|
|
|
|
It's all a blur, but sometime in December Rex installed a new light for me. This room didn't have one at all so he had to go into the attic. He's a trooper! The wiring in this house was insanely screwed up so this was quite the process. This is the light, I decided on. I love it, but I wish I would have gone with the cheaper out of the two. This light was rated to hold up to a 60 watt bulb and the cheaper 40 watt. I figured I'd need that extra wattage, but as it turned out the 60 watt bulbs were blinding so I use 40 watt! Hopefully Rex never reads this because I've never disclosed that I wish I'd chosen the other light! haha BUT I really do love this light, you can find it here.
Here's a breakdown on the improvements!
Removed Carpet- Free
Painted- $50
Molding around ceiling- $22.50
Caulk- under $20 (we went through an obscene amount of caulk)
Refinished hardwood- $0 (figured into the cost of the living room refinish)
Light fixture and electrical- under $200
New Blinds-$40
Fireplace- under $15
Cost so far- under $400
Still to do....
Finish hardwood floors, install baseboards, finish painting ceiling, finish fireplace, and paint door. The end is in site!!!

Leave a Reply